

Introduction to Stained Glass Cookies
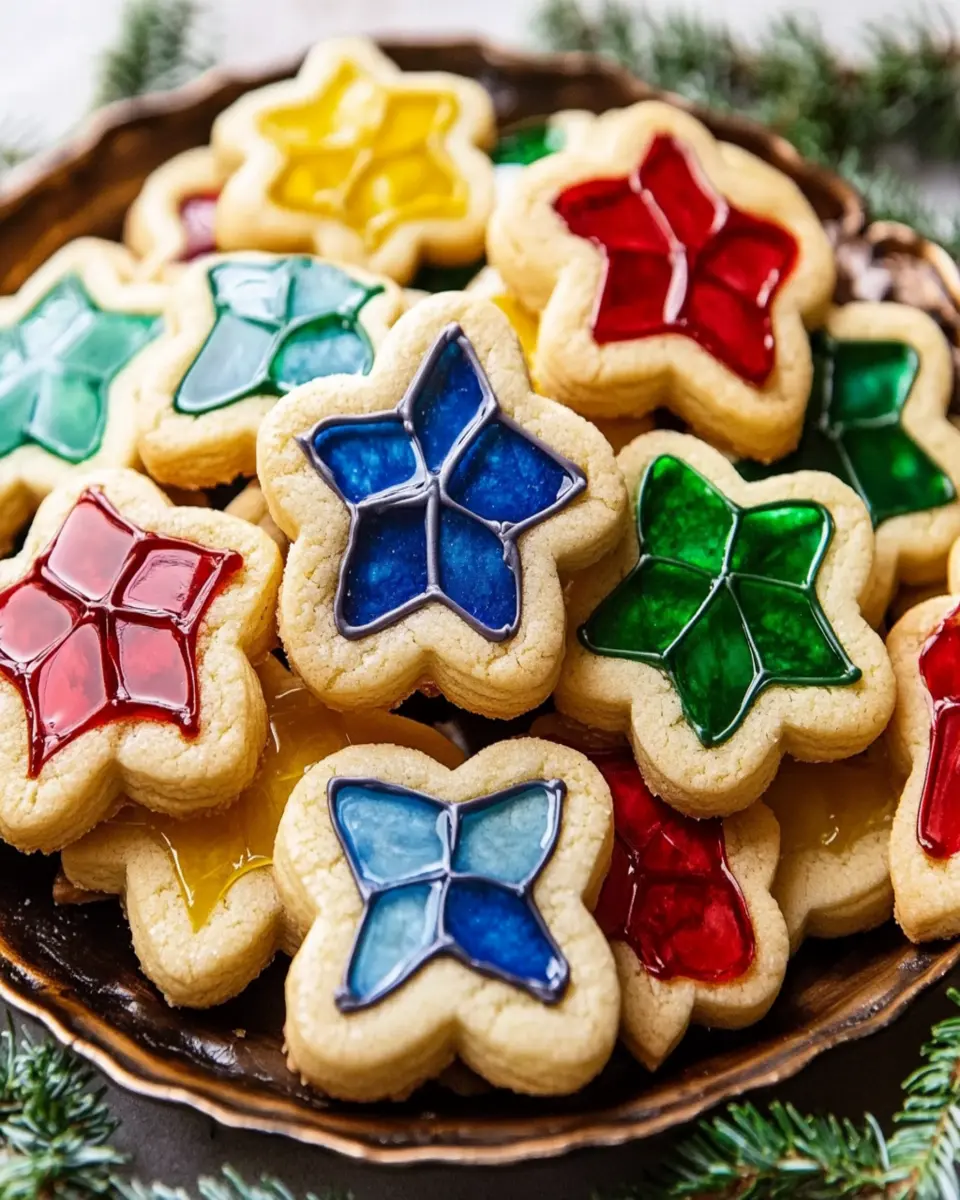
Stained glass cookies are not just a treat; they’re a delightful visual feast that can brighten any festive gathering. Imagine a crisp, buttery cookie, its surface adorned with vibrant, colorful candy windows that shimmer as they catch the light. These cookies are perfect for holiday baking, family gatherings, or simply as an eye-catching dessert to impress your friends.
The Allure of Stained Glass Cookies
What makes stained glass cookies so special is the magical transformation of hard candies into delicious, translucent windows. As they melt in the oven, they create a stunning effect that mimics stained glass, making each cookie a unique work of art. The combination of buttery dough and sweet, chewy candy is irresistible and sure to delight all ages!
Perfect for Any Occasion
Whether you’re decorating for a holiday or planning a birthday party, stained glass cookies are versatile enough to fit any theme. Their charming appearance makes them a favorite among children, while adults appreciate the nostalgia and creativity involved in making them. Plus, they’re a great way to get family members involved in the kitchen, creating memories while baking together.
So, ready to roll up your sleeves and try making these delightful cookies? Let’s dive into the ingredients and instructions to bring this festive treat to life!
Key Ingredients
When it comes to stained glass cookies, the right ingredients are key to achieving that perfect balance of flavor and texture. Here’s a closer look at the essential components that make these cookies a festive favorite.
Dough
2 3/4 cups all-purpose flour: This forms the base of the cookie, providing structure and a tender bite. It’s essential to use all-purpose flour for the best results in both texture and flavor.
1 teaspoon baking powder: This leavening agent helps the cookies rise slightly, ensuring they have a light, airy texture. Without it, the cookies might be too dense.
1 cup unsalted butter, softened: Butter adds richness and flavor, and using unsalted allows you to control the salt content, enhancing the overall taste of the cookie.
1 1/2 cups granulated sugar: Sugar not only sweetens the cookies but also contributes to their texture, helping them achieve that classic cookie crunch.
1 large egg: The egg acts as a binder, holding the dough together while adding moisture and richness.
1 teaspoon vanilla extract: This classic flavor enhances the sweetness of the cookies, making them more aromatic and delicious.
1 teaspoon almond extract: Almond extract adds a unique twist to the flavor profile, giving the cookies a subtle nuttiness that complements the vanilla.
Filling
1 cup crushed hard candies (like Jolly Ranchers): These colorful candies are the star of the show, melting into a beautiful, glass-like filling that creates the stained glass effect. Feel free to mix up the colors for a vibrant display!
Each ingredient plays a crucial role in crafting these delightful stained glass cookies, ensuring they are not only visually appealing but also deliciously satisfying.

Why You’ll Love This Recipe
Stained glass cookies are not just visually stunning—they’re a delightful blend of flavors and textures that make them irresistible. With their buttery, melt-in-your-mouth cookie base and the sweet, chewy candy center, these cookies are sure to impress anyone who tries them.
Perfect for Any Occasion
Whether you’re celebrating a holiday, hosting a party, or simply enjoying a cozy night in, these cookies are a perfect choice. Their colorful appearance makes them a festive addition to any dessert table, while their delicious taste ensures they will be devoured in no time. Plus, they’re fun to make, especially if you involve kids or friends in the decorating process.
A Creative Outlet
Not only do stained glass cookies taste great, but they also offer a wonderful opportunity to express your creativity. You can easily customize them with different shapes and colors of candies to match any theme or occasion. This makes them not only a treat but also a fun activity that brings joy and creativity to your kitchen!
In summary, stained glass cookies are a delicious and visually appealing treat that can elevate any gathering. With their unique appearance and delightful taste, they’re sure to become a new favorite in your baking repertoire.
Variations
Stained glass cookies are versatile, allowing for a variety of adaptations to suit your taste and occasion. Here are a few delightful variations to consider.
Flavor Twists
You can easily customize the flavor of your stained glass cookies by experimenting with different extracts. For instance, try substituting the almond extract with coconut or lemon extract for a refreshing twist. Each variation will bring a unique taste that can transform your cookies into something new and exciting.
Candy Choices
While traditional stained glass cookies often use hard candies like Jolly Ranchers, feel free to explore other options! Consider using gummy candies or even chocolate pieces for a different texture and flavor profile. Just remember that the melting point of the candy is essential for achieving that beautiful stained glass effect.
Themed Shapes
Another fun way to vary your stained glass cookies is by changing the shapes. Use cookie cutters to create themed shapes for different holidays or seasons—hearts for Valentine’s Day, stars for Christmas, or even flowers for spring gatherings. This adds a personal touch and makes your cookies perfect for any celebration.
These variations not only add creativity to your baking but also allow you to cater to different preferences and occasions. So, gather your ingredients and let your imagination run wild with your stained glass cookies!
Cooking Tips and Notes
When making stained glass cookies, a few cooking tips can enhance your baking experience and ensure delicious results.
Chill the Dough
Chilling the dough for at least 30 minutes is crucial. This step firms up the butter, making it easier to roll out and cut into shapes without losing definition. If you skip this, the cookies may spread too much during baking, ruining the beautiful shapes you’ve crafted.
Watch the Baking Time
Keep a close eye on your cookies while they bake. Overbaking can lead to a hard texture, whereas perfectly baked cookies should have golden edges and a soft center. A good rule of thumb is to start checking them at the 8-minute mark.
Experiment with Fillings
Don’t hesitate to get creative with your candy choices! While traditional hard candies work well, you can also try gummies or chocolate for a unique twist. Just be mindful of the melting properties to achieve that stunning stained glass effect.
These tips will help ensure your stained glass cookies turn out beautifully and deliciously every time!
Serving Suggestions
Stained glass cookies are not just a visual treat; they can also be enjoyed in a variety of delightful ways. Here are some serving suggestions to elevate your cookie experience.
Pairing with Beverages
Consider serving your stained glass cookies alongside a warm cup of tea or coffee. The rich flavors of the cookies complement the warmth of these beverages beautifully. A light herbal tea can bring out the sweetness, while a robust coffee can balance the sugary notes.
Creative Presentation
For a festive touch, arrange the cookies on a decorative platter or a tiered stand. You can also use colorful parchment paper or festive napkins to enhance their visual appeal. Adding some edible glitter or sprinkles around the cookies can make the presentation even more eye-catching!
Gift Ideas
Stained glass cookies make for wonderful homemade gifts during the holiday season. Package them in clear cellophane bags tied with a ribbon, or place them in a decorative tin for a charming and thoughtful present. Adding a personalized tag can make it even more special.
These serving suggestions not only enhance the enjoyment of stained glass cookies but also add a personal touch to any gathering or celebration!
Time Breakdown
When preparing stained glass cookies, understanding the time commitment can help you plan effectively. Here’s a quick breakdown of the time involved:
Preparation
30 minutes: This includes gathering your ingredients, mixing the dough, and chilling it to ensure ideal texture.
Cooking/Baking
10 minutes: The actual baking time is relatively short, but keep an eye on the cookies to avoid overbaking.
Total
40 minutes: With preparation and baking combined, you can have these delightful cookies ready in under an hour!
This efficient time breakdown makes stained glass cookies a fantastic option for a sweet treat without a lengthy time commitment.
Nutritional Facts
When indulging in stained glass cookies, it’s good to know what you’re enjoying. Each cookie is approximately 150 calories, making it a delightful yet manageable treat. With 10g of sugar and 8g of fat, these cookies offer a sweet balance without being overly indulgent. Packed with flavor from the butter and extracts, they also provide 2g of protein, making them a satisfying snack!
Caloric Breakdown
- Calories: 150
- Sugar: 10g
- Sodium: 50mg
- Fat: 8g (Saturated Fat: 5g, Unsaturated Fat: 2g)
- Carbohydrates: 20g (Fiber: 0g)
- Protein: 2g
- Cholesterol: 30mg
Enjoying these cookies as part of a balanced diet can add a touch of joy to your day!
FAQ Based on “People Also Ask” Section
Stained glass cookies are a delightful treat, and there are often questions surrounding their preparation, storage, and variations. Here are some common inquiries.
How do I store stained glass cookies?
To maintain their freshness, store stained glass cookies in an airtight container at room temperature. They can last for up to a week. If you want to keep them longer, consider freezing them in a single layer, then transferring to a freezer-safe container for up to three months.
Can I use different types of candy?
Absolutely! While traditional recipes call for hard candies like Jolly Ranchers, you can experiment with gummies, toffees, or even chocolate. Just ensure that whatever candy you choose has a melting point that allows it to create the stained glass effect without burning.
What occasions are stained glass cookies suitable for?
Stained glass cookies are incredibly versatile. They’re perfect for holiday celebrations, birthday parties, or any festive gathering. Their colorful appearance makes them a fun addition to any dessert table, appealing to both kids and adults alike.
These FAQs can help you navigate your baking experience and ensure your stained glass cookies turn out beautifully!
Conclusion
Stained glass cookies are not just a treat; they are a delightful experience that combines creativity with flavor. With their vibrant candy windows and buttery, tender base, these cookies are perfect for any festive occasion, making them a favorite among both children and adults.
Whether you’re baking for a holiday gathering or a casual get-together, these cookies are sure to impress. Plus, the process of making them can be a fun activity to share with family and friends, sparking joy and creativity in the kitchen.
So why wait? Get your ingredients together and whip up a batch of stained glass cookies to share. Don’t forget to save and share this recipe with fellow baking enthusiasts, and we’d love to hear your thoughts in the comments!
Stained Glass Cookies
Delicious stained glass cookies that are perfect for any festive occasion, featuring colorful candy windows.
- Total Time: 40 minutes
- Yield: 24 cookies 1x
Ingredients
- 2 3/4 cups all-purpose flour
- 1 teaspoon baking powder
- 1 cup unsalted butter, softened
- 1 1/2 cups granulated sugar
- 1 large egg
- 1 teaspoon vanilla extract
- 1 teaspoon almond extract
- 1 cup crushed hard candies (like Jolly Ranchers)
Instructions
- Preheat oven to 350°F (175°C).
- In a bowl, combine flour and baking powder.
- In a separate bowl, cream together the butter and sugar until smooth.
- Add egg and extracts; mix well.
- Gradually blend in the dry ingredients.
- Chill the dough for 30 minutes.
- Roll out the dough and cut into shapes.
- Using a smaller cutter, cut out the centers and fill with crushed candy.
- Bake for 8-10 minutes until edges are golden.
- Let cool before removing from the baking sheet.
Notes
- Ensure not to overbake for a chewy texture.
- Experiment with different colored candies for variety.
- Prep Time: 30 minutes
- Cook Time: 10 minutes
- Category: Dessert
- Method: baking
- Cuisine: American
- Diet: vegetarian
Nutrition
- Serving Size: 1 cookie
- Calories: 150
- Sugar: 10g
- Sodium: 50mg
- Fat: 8g
- Saturated Fat: 5g
- Unsaturated Fat: 2g
- Trans Fat: 0g
- Carbohydrates: 20g
- Fiber: 0g
- Protein: 2g
- Cholesterol: 30mg