Introduction to Potato Fingers
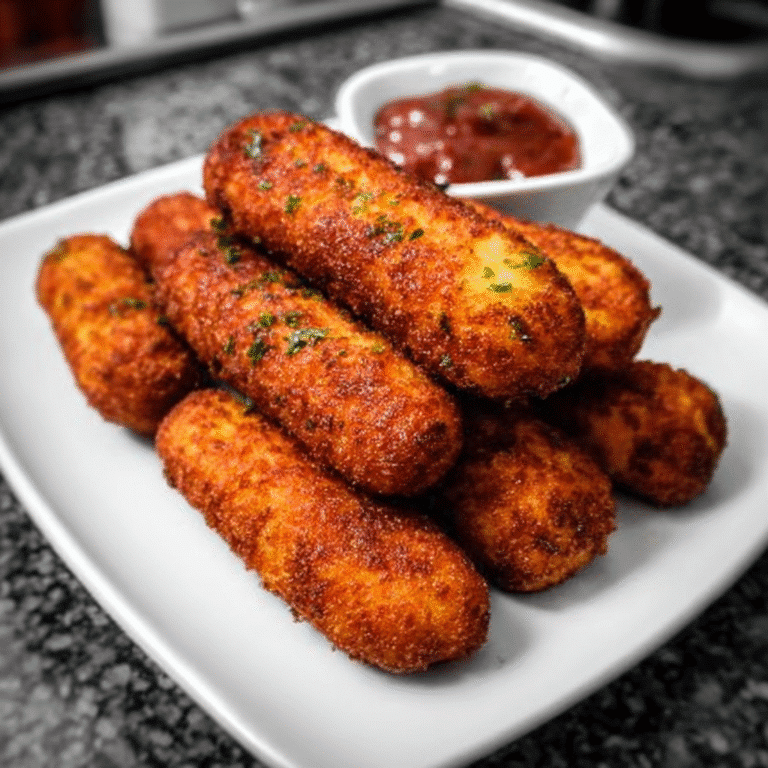
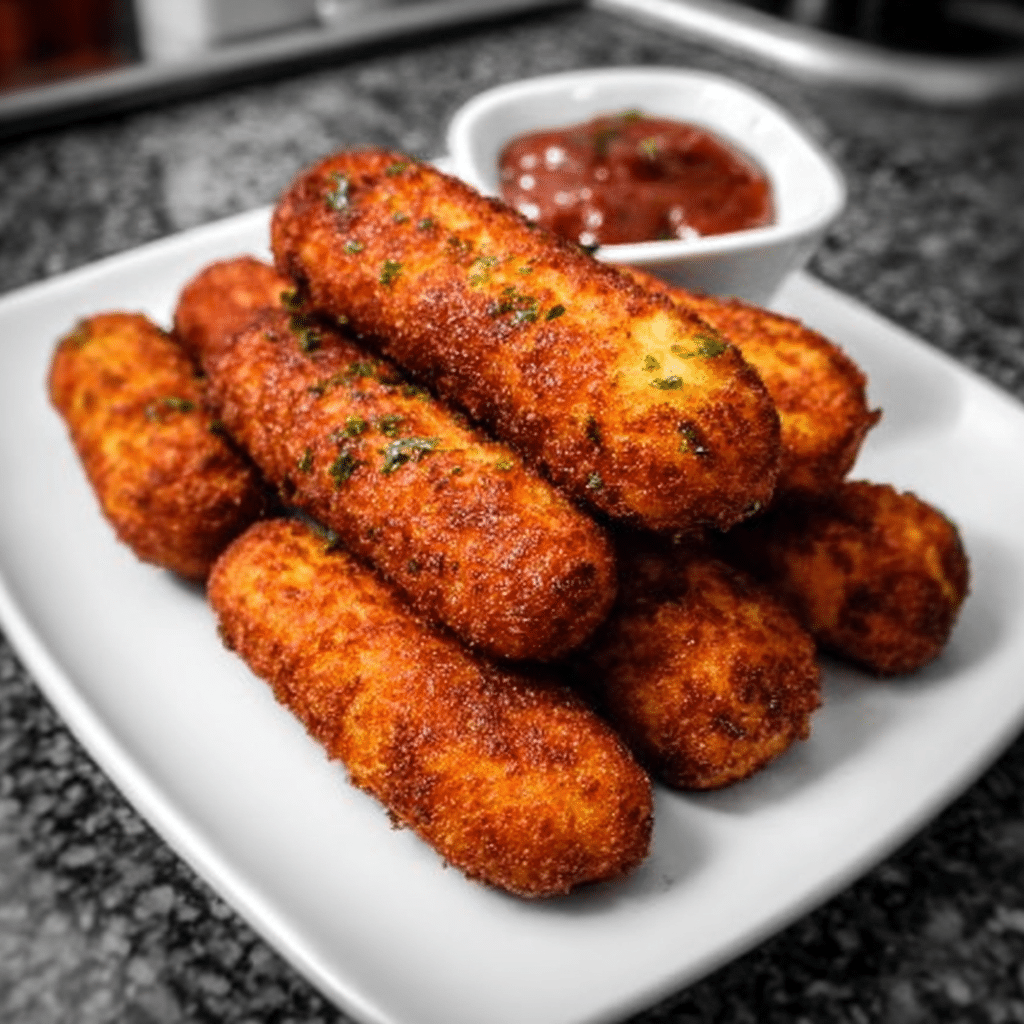
Hey there, fellow home cooks! If you’re anything like me, you know that life can get pretty hectic, especially when you’re juggling work, family, and everything in between. That’s why I’m excited to share my go-to recipe for potato fingers. These crispy delights are not just a quick solution for a busy day; they’re also a hit with the whole family! Imagine golden, crunchy potato strips that are perfect for snacking or as a side dish. Trust me, once you try these, you’ll wonder how you ever lived without them!
Why You’ll Love This Potato Fingers
Let’s be honest—who doesn’t love a crispy snack that’s easy to whip up? These potato fingers are not only quick to make, but they also deliver on flavor and texture. In just 40 minutes, you can have a delicious treat that satisfies cravings without the guilt. Plus, they’re versatile enough to please even the pickiest eaters in your family. Trust me, once you make these, they’ll become a staple in your kitchen!
Ingredients for Potato Fingers
Now, let’s dive into the ingredients that will transform your ordinary potatoes into crispy potato fingers. You’ll find that most of these items are pantry staples, making this recipe super convenient. Here’s what you’ll need:
- Russet Potatoes: These starchy beauties are perfect for achieving that crispy texture. They hold up well during baking and have a lovely flavor.
- Olive Oil: A drizzle of this liquid gold not only helps the spices stick but also adds a rich flavor. You can substitute it with vegetable oil if you prefer.
- Garlic Powder: This adds a savory kick to your potato fingers. If you’re a garlic lover, feel free to sprinkle in a bit more!
- Paprika: This spice brings a subtle smokiness and a beautiful color to your dish. You can use sweet or smoked paprika, depending on your taste.
- Onion Powder: A must-have for that extra layer of flavor. It’s a great way to add onion taste without the hassle of chopping.
- Salt: Essential for enhancing all the flavors. Adjust to your taste, but don’t skip it—it makes a difference!
- Black Pepper: A pinch of this adds a nice warmth. If you like a bit of heat, you can increase the amount.
- Cayenne Pepper (optional): If you enjoy a little spice, this is your go-to! Just a dash will elevate the flavor profile.
- Fresh Parsley (for garnish): Not only does it add a pop of color, but it also brings a fresh taste to your crispy potato fingers.
For exact measurements, check the bottom of the article where you can find everything listed for easy printing. Feel free to get creative with your seasonings! You can swap in Italian herbs or even chili powder for a different twist. The beauty of these potato fingers is that they’re incredibly adaptable to your taste preferences!
How to Make Potato Fingers
Now that we have our ingredients ready, let’s get cooking! Making these potato fingers is a breeze, and I promise you’ll feel like a kitchen superstar by the end. Follow these simple steps, and you’ll have crispy, golden potato fingers that will make your family cheer!
Step 1: Preheat the Oven
First things first, let’s get that oven fired up! Preheat your oven to 425°F (220°C). This is the magic temperature that will help our potato fingers achieve that perfect crispiness. While the oven is heating, line a baking sheet with parchment paper. This little trick prevents sticking and makes cleanup a snap!
Step 2: Prepare the Potatoes
Next, it’s time to give those russet potatoes some love. Start by washing them thoroughly to remove any dirt. Then, peel the potatoes—unless you’re feeling adventurous and want to leave the skins on for extra texture! Now, cut them into long, thin strips, about ¼ inch thick. Think of them as little soldiers ready to march into the oven. The thinner they are, the crispier they’ll get!
Step 3: Season the Potato Strips
In a large bowl, toss those potato strips with olive oil and all the delicious spices we gathered. Drizzle in the olive oil first, then sprinkle in the garlic powder, paprika, onion powder, salt, black pepper, and cayenne pepper if you’re feeling spicy. Use your hands to mix everything together until the potato strips are evenly coated. This is where the magic happens—each strip should be glistening with flavor!
Step 4: Arrange on Baking Sheet
Now, let’s get those seasoned potato strips onto the baking sheet. Spread them out in a single layer, making sure they’re not overcrowded. If they’re too close together, they’ll steam instead of crisp up, and we definitely want crispy potato fingers! Give them a little space to breathe, and they’ll reward you with that golden crunch.
Step 5: Bake to Crispy Perfection
It’s time to pop the baking sheet into the preheated oven! Bake those potato fingers for 25-30 minutes. Halfway through, give them a gentle flip to ensure they brown evenly. You’ll know they’re ready when they’re golden brown and crispy. The aroma wafting through your kitchen will be absolutely irresistible!
Step 6: Garnish and Serve
Once your potato fingers are out of the oven, let them cool for a few minutes. This is the hardest part—waiting! But trust me, it’s worth it. Finally, garnish with some freshly chopped parsley for a pop of color and a hint of freshness. Serve them up with your favorite dipping sauce, and watch your family devour them in no time!
Tips for Success
- Soak the cut potato strips in cold water for 30 minutes before seasoning for extra crispiness.
- Make sure to flip the potato fingers halfway through baking for even browning.
- Experiment with different spices to find your family’s favorite flavor combination.
- Don’t overcrowd the baking sheet; give each strip room to crisp up!
- Serve immediately for the best texture—crispy is key!
Equipment Needed
- Baking Sheet: A standard baking sheet works great, but a rimmed sheet can help catch any drips.
- Parchment Paper: This makes cleanup easy; aluminum foil is a good alternative.
- Large Bowl: For mixing the potato strips; any mixing bowl will do!
- Knife and Cutting Board: Essential for cutting the potatoes into strips.
- Spatula: Use this for flipping the potato fingers halfway through baking.
Variations
- Sweet Potato Fingers: Swap out russet potatoes for sweet potatoes for a sweeter, nutrient-packed version. They’ll add a lovely color and a hint of natural sweetness!
- Herb-Infused: Add fresh or dried herbs like rosemary, thyme, or oregano to the seasoning mix for an aromatic twist that elevates the flavor.
- Cheesy Potato Fingers: Sprinkle some grated Parmesan or cheddar cheese over the potato strips during the last 5 minutes of baking for a cheesy, indulgent treat.
- Spicy Cajun Style: Use Cajun seasoning instead of the spices listed for a zesty kick that will have your taste buds dancing!
- Gluten-Free Option: This recipe is naturally gluten-free, but if you want to add a crunchy coating, try using gluten-free breadcrumbs mixed with your spices.
Serving Suggestions
- Dipping Sauces: Serve with classic ketchup, zesty ranch dressing, or a spicy aioli for a flavor explosion.
- Side Dishes: Pair with a fresh salad or grilled veggies for a balanced meal.
- Presentation: Arrange potato fingers on a colorful platter, garnished with parsley for a pop of color.
FAQs about Potato Fingers
Got questions about making those crispy potato fingers? You’re not alone! Here are some common queries I’ve encountered, along with my answers to help you on your cooking journey.
1. Can I use other types of potatoes for this recipe?
Absolutely! While russet potatoes are my go-to for their crispiness, you can experiment with Yukon Gold or even sweet potatoes. Just keep in mind that different potatoes may yield slightly different textures and flavors.
2. How can I make my potato fingers extra crispy?
For extra crispy potato fingers, soak the cut potato strips in cold water for about 30 minutes before seasoning. This helps remove excess starch, leading to a crunchier finish. Also, make sure to space them out on the baking sheet!
3. What dipping sauces pair well with potato fingers?
Oh, the possibilities are endless! Classic ketchup is always a hit, but you can also try ranch dressing, spicy aioli, or even a tangy barbecue sauce. Get creative and find your family’s favorite!
4. Can I make potato fingers ahead of time?
While these potato fingers are best enjoyed fresh out of the oven, you can prep the potato strips and season them ahead of time. Just store them in the fridge for a few hours before baking. When you’re ready, pop them in the oven for a quick snack!
5. How do I store leftover potato fingers?
If you happen to have any leftovers (which is rare in my house!), store them in an airtight container in the fridge for up to 2 days. To reheat, pop them back in the oven for a few minutes to regain that crispy texture. Microwaving will make them soggy, so avoid that if you can!
Final Thoughts
Making potato fingers is more than just a cooking task; it’s a delightful experience that brings joy to your kitchen and your family. The aroma of crispy potatoes fills the air, creating a warm, inviting atmosphere that makes everyone feel at home. Whether you’re serving them as a snack or a side dish, these golden strips are sure to bring smiles to the table. Plus, the ease of preparation means you can whip them up even on the busiest days. So, roll up your sleeves, get cooking, and enjoy the crispy perfection that is potato fingers!
Print
Potato fingers: Discover the secret to crispy perfection!
Discover the secret to crispy perfection with these delicious potato fingers.
- Total Time: 40 minutes
- Yield: 4 servings 1x
Ingredients
- 2 large russet potatoes (about 1.5 pounds)
- 2 tablespoons olive oil
- 1 teaspoon garlic powder
- 1 teaspoon paprika
- 1 teaspoon onion powder
- 1 teaspoon salt
- ½ teaspoon black pepper
- ¼ teaspoon cayenne pepper (optional, for heat)
- Fresh parsley, chopped (for garnish)
Instructions
- Preheat your oven to 425°F (220°C). Line a baking sheet with parchment paper.
- Wash and peel the potatoes. Cut them into long, thin strips, about ¼ inch thick.
- In a large bowl, toss the potato strips with olive oil, garlic powder, paprika, onion powder, salt, black pepper, and cayenne pepper until evenly coated.
- Spread the potato strips in a single layer on the prepared baking sheet, making sure they are not overcrowded.
- Bake in the preheated oven for 25-30 minutes, flipping halfway through, until the potato fingers are golden brown and crispy.
- Remove from the oven and let cool for a few minutes. Garnish with chopped parsley before serving.
Notes
- For extra crispiness, soak the cut potato strips in cold water for 30 minutes before seasoning and baking.
- You can experiment with different seasonings, such as Italian herbs or chili powder, to customize the flavor.
- Serve with your favorite dipping sauce, like ketchup or ranch dressing, for added enjoyment.
- Prep Time: 10 minutes
- Cook Time: 30 minutes
- Category: Snack
- Method: Baking
- Cuisine: American
- Diet: Vegetarian
Nutrition
- Serving Size: 1 serving
- Calories: 180
- Sugar: 0g
- Sodium: salt content varies
- Fat: 7g
- Saturated Fat: 0g
- Unsaturated Fat: 0g
- Trans Fat: 0g
- Carbohydrates: 30g
- Fiber: 3g
- Protein: 3g
- Cholesterol: 0mg

