
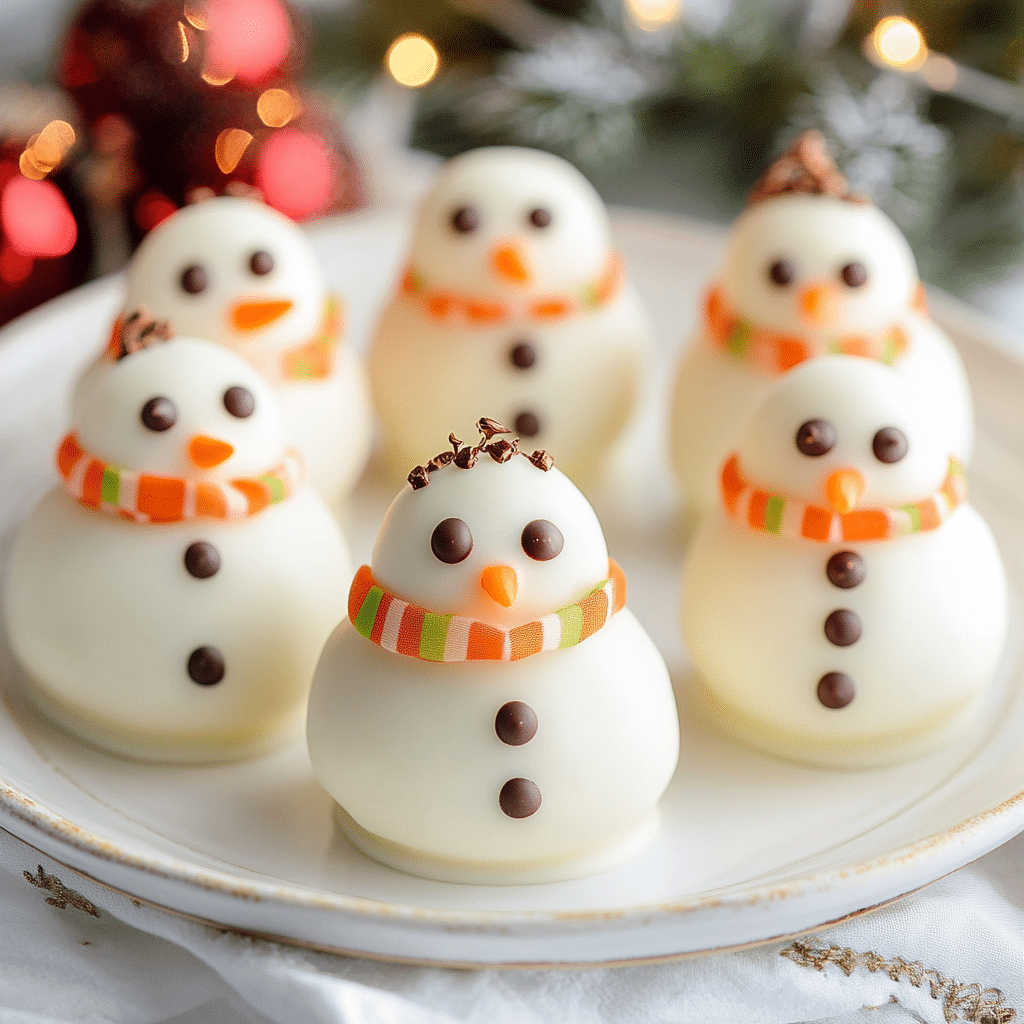
Introduction to No-Bake Snowman Truffles
Hey there, fellow home cooks! If you’re anything like me, the holiday season can feel like a whirlwind of activities, from shopping to decorating, and let’s not forget the endless cooking. That’s why I’m excited to share my delightful No-Bake Snowman Truffles with you! These little festive treats are not only a quick solution for a busy day, but they also bring a smile to everyone’s face. Imagine serving these adorable snowmen at your next gathering, and watch as your loved ones light up with joy. Trust me, they’re as fun to make as they are to eat!
Why You’ll Love This No-Bake Snowman Truffles
Let’s be honest—who doesn’t love a dessert that’s both adorable and delicious? These No-Bake Snowman Truffles are a breeze to whip up, taking just 15 minutes of your time. Plus, there’s no baking involved, which means less mess and more fun! They’re perfect for busy days when you want to impress without the stress. And let’s not forget the taste—creamy, sweet, and oh-so-satisfying!
Ingredients for No-Bake Snowman Truffles
Before we dive into the fun of making these No-Bake Snowman Truffles, let’s gather our ingredients! Each one plays a special role in creating these delightful treats. Here’s what you’ll need:
- Crushed vanilla wafer cookies: These provide a sweet, crunchy base. You can also use chocolate or gingerbread cookies for a fun twist!
- Cream cheese: This creamy goodness binds everything together and adds a rich flavor. Make sure it’s softened for easy mixing.
- Powdered sugar: This sweetener gives the truffles their delightful sweetness and smooth texture. It’s a must for that melt-in-your-mouth experience!
- Vanilla extract: A splash of this adds a warm, comforting flavor that complements the sweetness beautifully.
- White chocolate chips: These are the star of the show, giving our snowmen their snowy coating. You can swap them for dark chocolate if you prefer a richer taste.
- Coconut oil: This helps the chocolate melt smoothly and gives it a lovely sheen. Plus, it adds a hint of tropical flavor!
- Mini chocolate chips: These little gems are perfect for creating the snowman’s eyes. You could also use raisins or other small candies if you’re feeling creative.
- Orange candy corn: These serve as the snowman’s adorable noses. If you can’t find candy corn, orange M&M’s work just as well!
- Mini pretzel sticks: These make for cute little arms. If you’re looking for a gluten-free option, try using pretzel crisps or even carrot sticks!
- Sprinkles or edible glitter: For that extra festive touch, sprinkle some on top before the chocolate sets. It’s all about the presentation!
Don’t worry about memorizing these ingredients; you can find the exact quantities at the bottom of the article, ready for printing. Now, let’s get ready to create some holiday magic with our No-Bake Snowman Truffles!
How to Make No-Bake Snowman Truffles
Now that we have our ingredients ready, let’s dive into the fun part—making our No-Bake Snowman Truffles! This process is simple and enjoyable, perfect for a cozy afternoon in the kitchen. Follow these steps, and you’ll have a batch of adorable snowmen ready to impress your family and friends!
Step 1: Mix the Base
Start by grabbing a large mixing bowl. Combine the crushed vanilla wafer cookies, softened cream cheese, powdered sugar, and vanilla extract. Use a spatula or a sturdy spoon to mix everything together until it’s well combined and smooth. You want a nice, creamy consistency that holds together well. If you find it a bit too sticky, don’t worry! Just add a touch more powdered sugar until it feels right.
Step 2: Form the Truffles
Once your mixture is ready, it’s time to get your hands a little messy! Take a small amount of the mixture and roll it into a ball about 1 inch in diameter. Place each ball on a baking sheet lined with parchment paper. This is where the magic happens, so don’t rush! You should end up with about 12 delightful little snowmen, each one unique in its own way.
Step 3: Chill the Truffles
Now, let’s give our truffles a little time to firm up. Pop the baking sheet into the refrigerator and let them chill for about 30 minutes. This step is crucial because it helps the truffles hold their shape when we dip them in chocolate. While you wait, you can take a moment to sip on some hot cocoa or catch up on your favorite holiday movie!
Step 4: Melt the Chocolate
While the truffles are chilling, it’s time to melt the white chocolate chips and coconut oil. Grab a microwave-safe bowl and combine them. Heat in 30-second intervals, stirring in between until the mixture is smooth and creamy. Be careful not to overheat it, as chocolate can seize up quickly. If you prefer, you can also melt the chocolate using a double boiler on the stove.
Step 5: Coat the Truffles
Once your truffles are nice and firm, it’s time for the fun part—coating them in chocolate! Using a fork, dip each chilled truffle into the melted white chocolate, making sure it’s fully coated. Let any excess chocolate drip off before placing them back on the parchment-lined baking sheet. This is where your snowmen start to look like, well, snowmen!
Step 6: Decorate the Snowmen
Before the chocolate sets, it’s time to bring your snowmen to life! Use mini chocolate chips for the eyes, an orange candy corn for the nose, and mini pretzel sticks for the arms. Get creative! You can even add sprinkles or edible glitter for that extra festive flair. This is where you can let your personality shine through—each snowman can have its own unique character!
Step 7: Set and Serve
Finally, let your decorated truffles set completely. You can leave them at room temperature or pop them back in the fridge for about 30 minutes. Once they’re set, they’re ready to be served! Arrange them on a festive platter, and watch as everyone gathers around to admire (and devour) your adorable No-Bake Snowman Truffles. Enjoy the smiles and compliments that come your way!

Tips for Success
- Make sure your cream cheese is at room temperature for easy mixing.
- Use a cookie scoop for uniform truffle sizes—this makes them look more professional!
- Don’t rush the chilling process; it’s key for a perfect coating.
- Experiment with different cookie flavors for a unique twist on your No-Bake Snowman Truffles.
- Have fun with the decorations—let your creativity shine!
Equipment Needed
- Mixing bowl: A large bowl for combining ingredients. A sturdy glass or ceramic bowl works great!
- Spatula or sturdy spoon: For mixing the truffle base. A wooden spoon is a classic choice!
- Baking sheet: To chill the truffles. You can use any flat surface lined with parchment paper.
- Microwave-safe bowl: For melting chocolate. A glass bowl is perfect for this task!
- Fork: To dip and coat the truffles. A slotted spoon can work in a pinch!
Variations
- Chocolate Snowman Truffles: Swap out the vanilla wafer cookies for chocolate cookies and use dark chocolate for coating. It’s a rich twist that chocolate lovers will adore!
- Gingerbread Snowman Truffles: Use crushed gingerbread cookies instead of vanilla wafers for a spiced flavor that’s perfect for the holidays.
- Nut-Free Option: If you’re catering to nut allergies, ensure that all ingredients, especially the chocolate, are nut-free. You can also use gluten-free cookies for a safe alternative.
- Vegan Snowman Truffles: Substitute cream cheese with a vegan cream cheese alternative and use dairy-free chocolate chips. These truffles can be enjoyed by everyone!
- Fruit-Infused Truffles: Add a tablespoon of finely chopped dried fruit, like cranberries or apricots, to the truffle mixture for a burst of flavor and a chewy texture.
Serving Suggestions
- Pair your No-Bake Snowman Truffles with a warm cup of hot cocoa or spiced apple cider for a cozy treat.
- Serve them on a festive platter, surrounded by holiday-themed decorations like pinecones or twinkling lights.
- For a fun twist, create a snowman-themed dessert table with other holiday treats!
FAQs about No-Bake Snowman Truffles
As you embark on your journey to create these delightful No-Bake Snowman Truffles, you might have a few questions. Don’t worry; I’ve got you covered! Here are some common queries that pop up when making these festive treats:
1. Can I make No-Bake Snowman Truffles ahead of time?
Absolutely! These truffles can be made a day or two in advance. Just store them in an airtight container in the fridge. This way, you can enjoy more time with your loved ones and less time in the kitchen!
2. How long do No-Bake Snowman Truffles last?
When stored properly in the refrigerator, your No-Bake Snowman Truffles can last up to a week. Just make sure they’re in a sealed container to keep them fresh and tasty!
3. Can I use different decorations for the snowmen?
Of course! Get creative with your decorations. You can use mini marshmallows for hats, different colored candies for eyes, or even edible glitter for a magical touch. The sky’s the limit!
4. What if I don’t have coconut oil?
No worries! If you don’t have coconut oil on hand, you can substitute it with vegetable oil or even butter. Just keep in mind that it might slightly alter the flavor and texture, but they’ll still be delicious!
5. Are No-Bake Snowman Truffles suitable for kids?
Definitely! These truffles are a fun and safe treat for kids to help make. Just supervise them during the melting and decorating stages, and let them unleash their creativity. It’s a great way to bond during the holidays!
Final Thoughts
Making No-Bake Snowman Truffles is more than just whipping up a dessert; it’s about creating joyful moments with family and friends. These adorable treats bring a sprinkle of magic to any holiday gathering, and the smiles they generate are priceless. Plus, the simplicity of this recipe means you can enjoy the process without feeling overwhelmed. So, gather your loved ones, roll up your sleeves, and dive into the fun of making these delightful snowmen. Trust me, the laughter and joy you’ll share will be the best part of your holiday season!
Print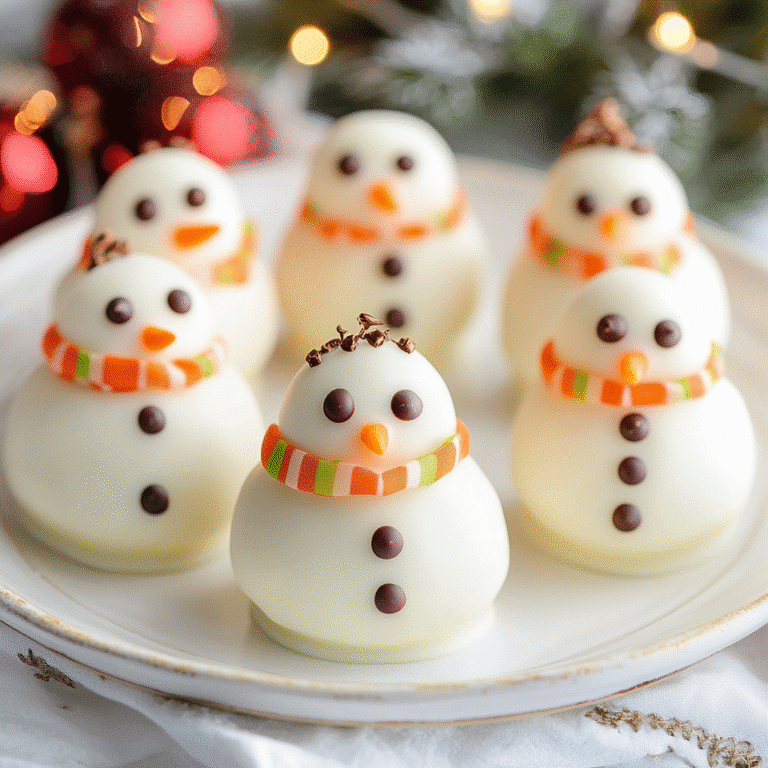
No-Bake Snowman Truffles: Whip Up Festive Fun Today!
Delicious and festive No-Bake Snowman Truffles that are perfect for holiday celebrations.
- Total Time: 45 minutes
- Yield: 12 servings 1x
Ingredients
- 1 cup crushed vanilla wafer cookies
- 8 oz cream cheese, softened
- 1 cup powdered sugar
- 1 tsp vanilla extract
- 1 cup white chocolate chips
- 1 tbsp coconut oil
- Mini chocolate chips (for eyes)
- Orange candy corn (for noses)
- Mini pretzel sticks (for arms)
- Sprinkles or edible glitter (for decoration)
Instructions
- In a large mixing bowl, combine the crushed vanilla wafer cookies, softened cream cheese, powdered sugar, and vanilla extract. Mix until well combined and smooth.
- Using your hands, form the mixture into small balls, about 1 inch in diameter. Place the balls on a baking sheet lined with parchment paper.
- Chill the truffles in the refrigerator for about 30 minutes to firm up.
- While the truffles are chilling, melt the white chocolate chips and coconut oil together in a microwave-safe bowl, heating in 30-second intervals and stirring until smooth.
- Dip each chilled truffle into the melted white chocolate, using a fork to coat evenly. Allow excess chocolate to drip off, then place the truffles back on the parchment-lined baking sheet.
- Before the chocolate sets, decorate each truffle with mini chocolate chips for eyes, an orange candy corn for a nose, and mini pretzel sticks for arms.
- If desired, sprinkle with edible glitter or sprinkles for a festive touch.
- Let the truffles set completely at room temperature or in the fridge for about 30 minutes before serving.
Notes
- For a fun twist, try using different flavored cookie crumbs, like chocolate or gingerbread, to create unique truffles.
- You can also substitute the white chocolate with dark chocolate for a richer flavor.
- Prep Time: 15 minutes
- Cook Time: 0 minutes
- Category: Dessert
- Method: No-Bake
- Cuisine: American
- Diet: Vegetarian
Nutrition
- Serving Size: 1 truffle
- Calories: 150
- Sugar: 10g
- Sodium: 50mg
- Fat: 9g
- Saturated Fat: 5g
- Unsaturated Fat: 4g
- Trans Fat: 0g
- Carbohydrates: 15g
- Fiber: 0g
- Protein: 2g
- Cholesterol: 20mg