
Introduction to Blue Christmas Truffles
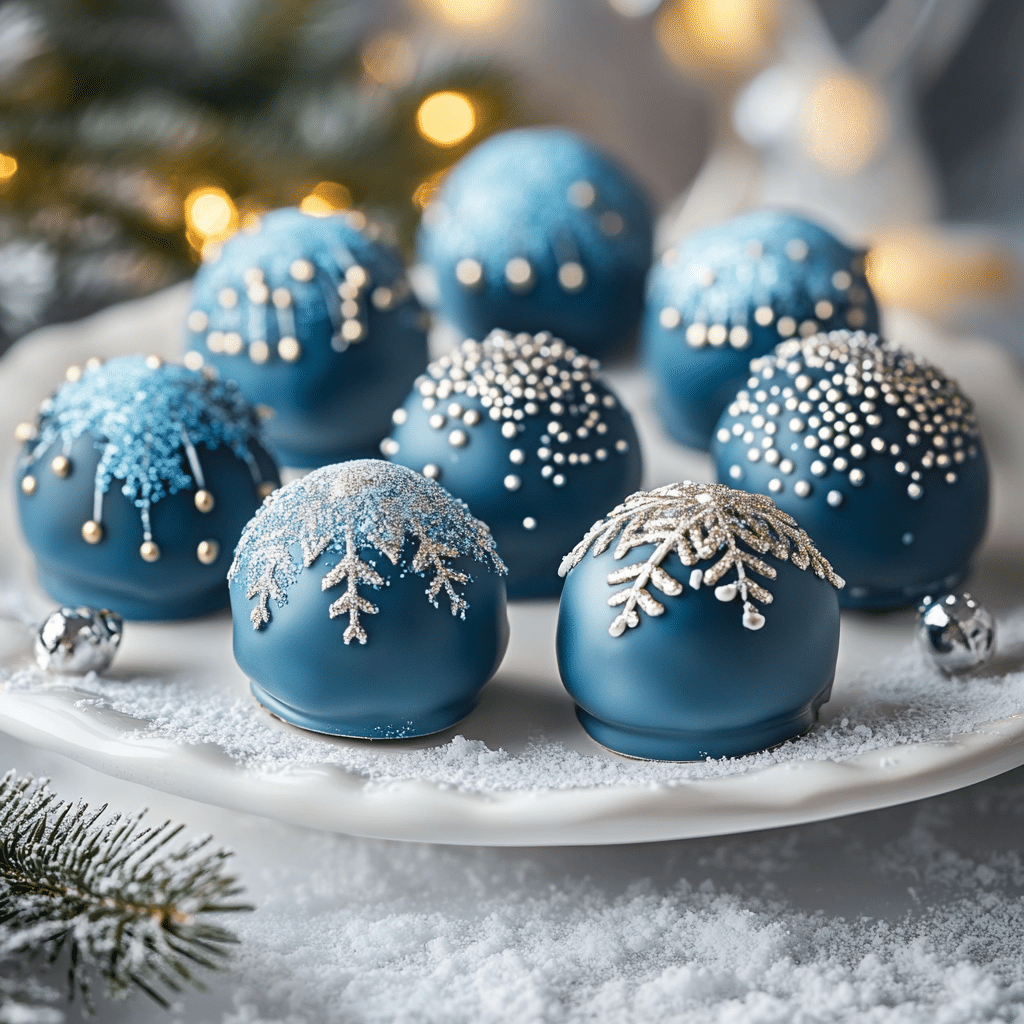
Ah, the holiday season! It’s that magical time of year when our homes are filled with laughter, love, and, of course, delicious treats. If you’re like me, you want to impress your family and friends without spending hours in the kitchen. That’s where these delightful Blue Christmas Truffles come in! They’re not only a quick solution for a busy day, but they also add a festive pop of color to your dessert table. Plus, who can resist a sweet, creamy truffle that’s as fun to make as it is to eat? Let’s dive into this easy recipe that’s sure to bring smiles all around!
Why You’ll Love This Blue Christmas Truffles
These Blue Christmas Truffles are a dream come true for busy cooks! They come together in no time, making them perfect for last-minute holiday gatherings. The creamy, sweet filling paired with a colorful candy coating is a delightful treat that will impress everyone. Plus, they’re no-bake, so you can skip the oven and enjoy more time with your loved ones. Trust me, these truffles will become a holiday favorite!
Ingredients for Blue Christmas Truffles
Gathering the right ingredients is half the fun of making these Blue Christmas Truffles. Here’s what you’ll need to whip up this festive treat:
- Crushed vanilla wafers: These provide a sweet, crunchy base for your truffles. You can use any brand you like, or even substitute with graham crackers for a different flavor.
- Powdered sugar: This sweetener helps bind the mixture together and gives the truffles their delightful sweetness. It’s a must-have for that melt-in-your-mouth texture!
- Cream cheese: Softened cream cheese adds a rich, creamy element that balances the sweetness. If you’re looking for a lighter option, you can use reduced-fat cream cheese.
- Vanilla extract: A splash of vanilla enhances the flavor profile, making these truffles taste even more indulgent. Feel free to swap in almond extract for a unique twist!
- Blue candy melts: These are the star of the show, giving your truffles that stunning blue hue. You can find them at craft stores or online. If blue isn’t your color, any candy melt will work!
- White sprinkles: These add a festive touch and a bit of crunch. You can use any sprinkles you have on hand, or even crushed nuts for a different texture.
- Crushed peppermint candies (optional): If you want to add a minty kick, toss in some crushed peppermint. It’s a delightful holiday flavor that pairs beautifully with the sweetness of the truffles.
For exact measurements, check the bottom of the article where you can find everything listed for easy printing. Now that you have your ingredients ready, let’s get started on making these delicious treats!
How to Make Blue Christmas Truffles
Now that we have our ingredients ready, let’s get to the fun part—making these delightful Blue Christmas Truffles! Follow these simple steps, and you’ll have a batch of festive treats in no time.
Step 1: Prepare the Base Mixture
Start by grabbing a large mixing bowl. Combine the crushed vanilla wafers and powdered sugar. Use a spatula or a wooden spoon to mix them together until they’re well blended. This mixture will be the foundation of your truffles, so make sure it’s nice and even. It should look like sandy crumbs, and trust me, it smells heavenly!
Step 2: Add Cream Cheese and Vanilla
Next, it’s time to add the softened cream cheese and vanilla extract to your bowl. This is where the magic happens! Mix everything together until it forms a smooth, cohesive dough. You can use an electric mixer for this, but a good old-fashioned spoon works just fine too. The mixture should be creamy and slightly sticky, perfect for rolling into balls.
Step 3: Chill the Mixture
Once your mixture is smooth, cover the bowl with plastic wrap and pop it in the refrigerator for about 30 minutes. Chilling the mixture makes it easier to handle when you’re forming the truffles. Plus, it gives the flavors a chance to meld together. Use this time to clean up your workspace or sip on a warm cup of cocoa—because you deserve a little treat too!
Step 4: Form the Truffles
After the mixture has chilled, it’s time to roll! Scoop out tablespoon-sized portions of the mixture and roll them into balls using your hands. Don’t worry if they’re not perfectly round; a little imperfection adds character! Place the truffles on a parchment-lined baking sheet. This step is where the excitement builds—your truffles are starting to take shape!
Step 5: Melt the Blue Candy Coating
Now, let’s get to the fun part—melting the blue candy melts! Place them in a microwave-safe bowl and heat them in 30-second intervals, stirring in between until they’re completely smooth. Be careful not to overheat them, as they can seize up. The melted candy will give your truffles that gorgeous blue hue that makes them so festive!
Step 6: Coat the Truffles
Once your candy melts are ready, it’s time to dip! Take each truffle and carefully dip it into the melted blue candy, ensuring it’s fully coated. Use a fork to lift it out, letting any excess candy drip off. This is where you can get a little creative—don’t be afraid to get your hands a bit messy! It’s all part of the fun.
Step 7: Add Sprinkles
While the candy coating is still wet, sprinkle your white sprinkles and crushed peppermint candies on top. This adds a festive touch and a delightful crunch. You can get creative here—mix and match sprinkles or even add a drizzle of melted chocolate for an extra flair. Just remember, the more colorful, the better!
Step 8: Set the Truffles
Finally, let your truffles set! You can either leave them at room temperature or pop them in the refrigerator for about 15-20 minutes until the coating hardens. Once they’re set, they’re ready to be enjoyed! Just look at those beautiful Blue Christmas Truffles—they’re almost too pretty to eat. Almost!

Tips for Success
- Make sure your cream cheese is softened for easy mixing; it should be at room temperature.
- Use a cookie scoop for uniform truffle sizes—this makes them look professional!
- Don’t skip the chilling step; it helps the mixture firm up for easier rolling.
- Experiment with different candy melt colors to match your holiday theme.
- Store any leftovers in an airtight container in the fridge for up to a week.
Equipment Needed
- Mixing bowl: A large bowl for combining ingredients. Any size will do, but a sturdy one is best.
- Spatula or wooden spoon: For mixing the truffle base. A silicone spatula works wonders!
- Parchment paper: To line your baking sheet. Wax paper can be a substitute, but parchment is preferred.
- Microwave-safe bowl: For melting the candy melts. A glass bowl is ideal.
- Cookie scoop: For uniform truffle sizes. A tablespoon works too if you don’t have one!
Variations on Blue Christmas Truffles
- Chocolate Lovers: Swap out the vanilla wafers for crushed chocolate cookies and use dark chocolate candy melts for a rich twist.
- Nutty Delight: Add finely chopped nuts, like almonds or walnuts, to the truffle mixture for a delightful crunch.
- Fruit Fusion: Incorporate dried cranberries or chopped dried apricots into the mixture for a fruity burst of flavor.
- Gluten-Free Option: Use gluten-free vanilla wafers or almond flour instead of regular wafers to make these truffles gluten-free.
- Vegan Version: Substitute cream cheese with a vegan cream cheese alternative and use dairy-free candy melts for a plant-based treat.
- Minty Fresh: Enhance the peppermint flavor by adding a few drops of peppermint extract to the truffle mixture.
- Colorful Coating: Experiment with different colored candy melts to match your holiday decor or theme—think red, green, or even gold!
Serving Suggestions for Blue Christmas Truffles
- Pair these Blue Christmas Truffles with a warm cup of hot cocoa or spiced apple cider for a cozy treat.
- Present them on a festive platter, garnished with fresh mint leaves or edible glitter for a touch of elegance.
- Serve alongside a cheese board for a delightful contrast of flavors.
- Wrap them in clear cellophane bags tied with a ribbon for a charming homemade gift.
FAQs about Blue Christmas Truffles
As you embark on your journey to create these delightful Blue Christmas Truffles, you might have a few questions. Don’t worry; I’ve got you covered! Here are some common queries that pop up when making these festive treats:
1. Can I make Blue Christmas Truffles ahead of time?
Absolutely! These truffles can be made a few days in advance. Just store them in an airtight container in the refrigerator. They’ll stay fresh and delicious, making them a perfect make-ahead treat for your holiday gatherings!
2. What can I use instead of blue candy melts?
If blue isn’t your color, feel free to use any colored candy melts you like! White, red, or even green can add a festive touch. You can also use chocolate or yogurt melts for a different flavor profile.
3. How do I store leftover truffles?
Store any leftover Blue Christmas Truffles in an airtight container in the fridge. They’ll keep well for up to a week. Just make sure to separate layers with parchment paper to prevent sticking!
4. Can I freeze Blue Christmas Truffles?
Yes, you can freeze these truffles! Just place them in a single layer on a baking sheet until frozen, then transfer them to an airtight container. They can be frozen for up to three months. When you’re ready to enjoy, let them thaw in the fridge overnight.
5. What if my truffles are too soft to roll?
If your truffle mixture is too soft, it might need a bit more chilling time. Pop it back in the fridge for another 15-20 minutes. If it’s still too soft, you can add a little more crushed vanilla wafers or powdered sugar to help firm it up.
Final Thoughts
Making Blue Christmas Truffles is more than just whipping up a sweet treat; it’s about creating joyful moments with family and friends. The vibrant blue color and delightful flavors bring a festive spirit to any gathering. Plus, the simplicity of this no-bake recipe means you can spend less time in the kitchen and more time enjoying the holiday cheer. Whether you’re sharing them at a party or gifting them to loved ones, these truffles are sure to spread smiles and warmth. So, roll up your sleeves and let the holiday magic begin!
Print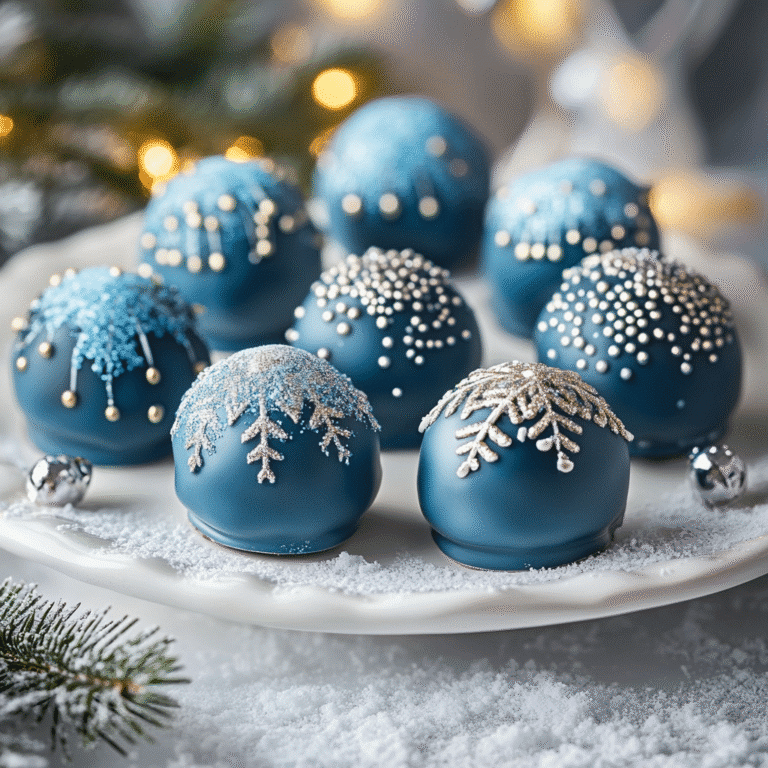
Blue Christmas Truffles: Delightful Festive Treat Recipe
Delightful festive treat recipe for Blue Christmas Truffles.
- Total Time: 50 minutes
- Yield: 12 servings 1x
Ingredients
- 1 cup crushed vanilla wafers
- 1 cup powdered sugar
- 1/2 cup cream cheese, softened
- 1 teaspoon vanilla extract
- 1/2 cup blue candy melts
- 1/4 cup white sprinkles
- 1/4 cup crushed peppermint candies (optional)
Instructions
- In a large mixing bowl, combine the crushed vanilla wafers and powdered sugar. Mix well.
- Add the softened cream cheese and vanilla extract to the bowl. Mix until the ingredients are fully combined and form a smooth dough.
- Refrigerate the mixture for about 30 minutes to make it easier to handle.
- Once chilled, scoop out tablespoon-sized portions of the mixture and roll them into balls. Place the truffles on a parchment-lined baking sheet.
- In a microwave-safe bowl, melt the blue candy melts according to package instructions, stirring until smooth.
- Dip each truffle into the melted blue candy, ensuring it is fully coated. Use a fork to lift it out and let any excess candy drip off.
- Place the coated truffles back on the parchment-lined baking sheet. While the candy coating is still wet, sprinkle with white sprinkles and crushed peppermint candies if desired.
- Allow the truffles to set at room temperature or refrigerate for about 15-20 minutes until the coating hardens.
Notes
- For a festive twist, try using different colored candy melts to match your holiday theme.
- You can also add a teaspoon of almond extract for a unique flavor.
- Prep Time: 30 minutes
- Cook Time: 15-20 minutes
- Category: Dessert
- Method: No-Bake
- Cuisine: American
- Diet: Vegetarian
Nutrition
- Serving Size: 1 truffle
- Calories: 130
- Sugar: 18g
- Sodium: N/A
- Fat: 6g
- Saturated Fat: N/A
- Unsaturated Fat: N/A
- Trans Fat: N/A
- Carbohydrates: 18g
- Fiber: N/A
- Protein: 1g
- Cholesterol: N/A