
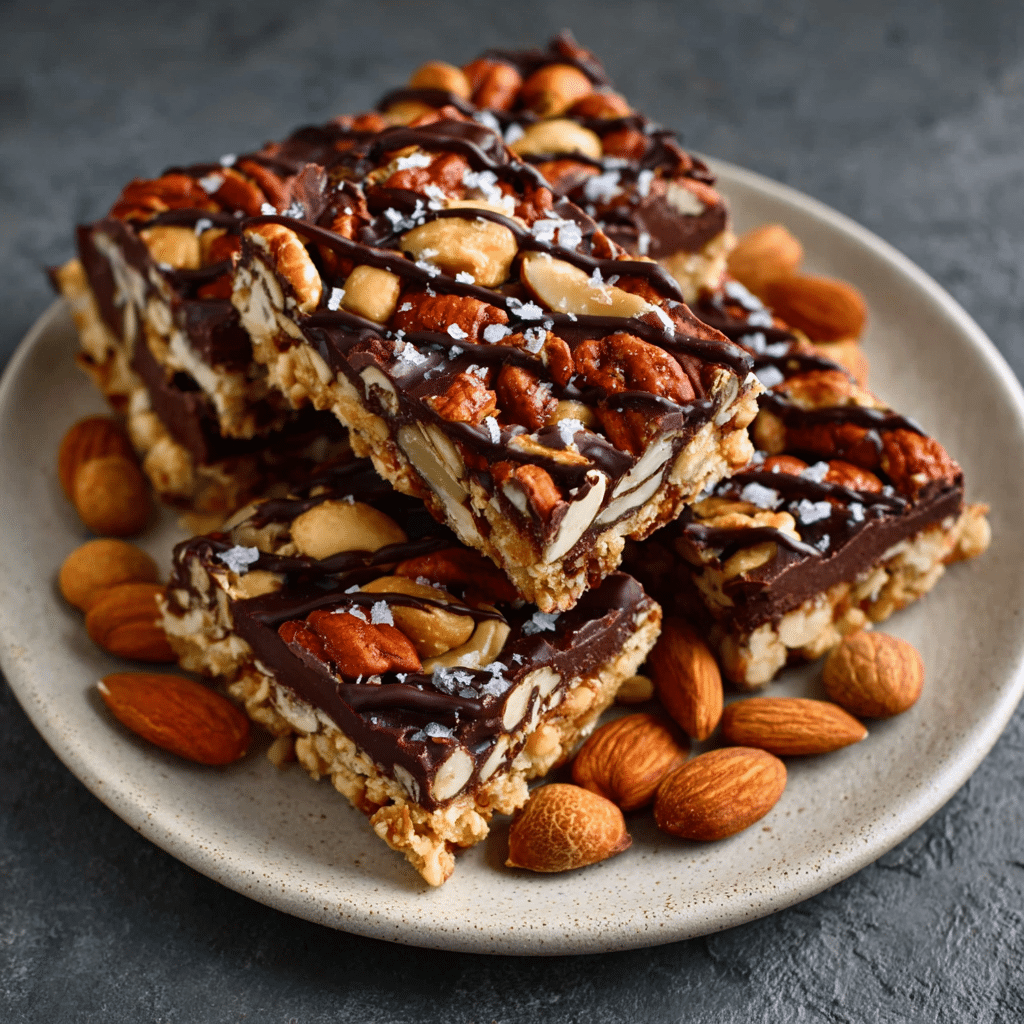
Introduction to Dark Chocolate Sea Salt Nut Bars
Hey there, fellow food lovers! If you’re anything like me, you know that life can get pretty hectic, especially when juggling family, work, and everything in between. That’s why I’m excited to share my recipe for Dark Chocolate Sea Salt Nut Bars. These little gems are not just a treat; they’re a quick solution for those busy days when you need a healthy snack that satisfies your sweet tooth. Packed with wholesome ingredients, they’re perfect for a midday pick-me-up or a delightful dessert to impress your loved ones. Trust me, once you try these bars, you’ll wonder how you ever lived without them!
Why You’ll Love This Dark Chocolate Sea Salt Nut Bars
Let’s be honest—finding a snack that’s both delicious and healthy can feel like searching for a needle in a haystack. But these Dark Chocolate Sea Salt Nut Bars are a game changer! They’re super easy to whip up, taking just about 15 minutes of prep time. Plus, the combination of rich dark chocolate and crunchy nuts creates a flavor explosion that’ll have your taste buds dancing. You’ll love how they satisfy cravings without the guilt!
Ingredients for Dark Chocolate Sea Salt Nut Bars
Now, let’s dive into the delicious ingredients that make up these Dark Chocolate Sea Salt Nut Bars. Each component plays a vital role in creating that perfect balance of flavor and texture. Here’s what you’ll need:
- Mixed Nuts: A delightful blend of almonds, walnuts, and pecans adds crunch and healthy fats. Feel free to swap in your favorites or whatever you have on hand!
- Pitted Dates: These natural sweeteners bring a chewy texture and caramel-like flavor. They’re the glue that holds everything together, so don’t skip them!
- Unsweetened Cocoa Powder: This rich powder gives the bars a deep chocolate flavor without added sugar. It’s a must for that indulgent taste!
- Honey or Maple Syrup: Both options provide sweetness and moisture. Honey is a classic choice, but maple syrup is perfect for a vegan twist.
- Sea Salt: Just a pinch enhances all the flavors and balances the sweetness. Plus, a sprinkle on top adds a delightful finishing touch!
- Vanilla Extract: A splash of this aromatic extract elevates the overall flavor profile, making each bite even more enjoyable.
- Dark Chocolate Chips: Aim for chips with at least 70% cocoa for a rich, decadent topping. They melt beautifully and add that irresistible chocolatey goodness!
For those looking to mix things up, consider adding a teaspoon of cinnamon for warmth or a tablespoon of nut butter for extra creaminess. You can also substitute the mixed nuts with seeds like sunflower or pumpkin seeds for a nut-free version. The exact quantities for each ingredient are listed at the bottom of the article, ready for you to print out and take to the kitchen!
How to Make Dark Chocolate Sea Salt Nut Bars
Now that we’ve gathered all our ingredients, it’s time to roll up our sleeves and get cooking! Making these Dark Chocolate Sea Salt Nut Bars is a breeze, and I promise you’ll feel like a kitchen superstar by the end. Let’s break it down step by step!
Step 1: Preheat and Prepare
First things first, preheat your oven to 350°F (175°C). This is crucial for getting those bars just right! While the oven warms up, grab an 8×8-inch baking dish and line it with parchment paper. Leave a little overhang on the sides; this will make it super easy to lift the bars out later. Trust me, this little trick saves a lot of hassle!
Step 2: Process the Nuts
Next, it’s time to chop those mixed nuts! Toss them into a food processor and pulse until they’re coarsely chopped. You want some texture here, so don’t go overboard—think of it like a crunchy surprise in every bite! If you don’t have a food processor, a good old-fashioned knife will do the trick, but it might take a bit longer. Just keep an eye on those fingers!
Step 3: Combine Ingredients
Now, let’s bring it all together! Add the chopped dates, unsweetened cocoa powder, honey or maple syrup, sea salt, and vanilla extract to the food processor with the nuts. Pulse everything until it’s well combined and sticky. You should be able to form it into a ball without it falling apart. If it’s too crumbly, a splash more honey or syrup can help bind it. This mixture is where the magic happens!
Step 4: Press Mixture into Dish
Transfer that delicious mixture into your prepared baking dish. Using your hands or a spatula, press it down firmly and evenly. You want a compact layer that holds together well. Think of it as making a mini crust! The firmer you press it, the better your bars will hold their shape once baked. Plus, it’s a great way to release any pent-up energy from the day!
Step 5: Bake the Bars
Pop the baking dish into your preheated oven and let it bake for about 15-20 minutes. You’ll know they’re ready when they’re slightly firm to the touch and smell absolutely heavenly. Keep an eye on them, as every oven is a little different. Once they’re done, take them out and let them cool completely in the pan. Patience is key here, my friends!
Step 6: Melt the Chocolate
While the bars are cooling, it’s time to melt the dark chocolate chips. Place them in a microwave-safe bowl and heat in 30-second intervals, stirring in between until smooth. This method prevents burning and ensures a silky texture. If you prefer, you can melt the chocolate using a double boiler on the stove. Either way, just make sure it’s nice and creamy for that perfect topping!
Step 7: Pour and Cool
Once your bars are completely cool, pour the melted chocolate over the top, spreading it evenly with a spatula. Don’t be shy—make sure every corner gets some love! Then, sprinkle a pinch of sea salt on top for that delightful contrast. Now, pop the whole thing in the fridge for at least an hour to let the chocolate set. This is the hardest part—waiting! But trust me, it’s worth it!

Tips for Success
- Make sure your dates are soft; if they’re a bit dry, soak them in warm water for 10 minutes before chopping.
- For a smoother texture, blend the nut mixture a little longer, but be careful not to turn it into nut butter!
- Use a spatula to press the mixture firmly into the baking dish for better shape.
- Experiment with different nuts or add seeds for a unique twist!
Equipment Needed
- Food Processor: Essential for chopping nuts and mixing ingredients. A sturdy blender can work in a pinch!
- Baking Dish: An 8×8-inch dish is perfect. If you don’t have one, a similar-sized pan will do.
- Parchment Paper: Helps with easy removal. Aluminum foil can be a substitute, but it may stick a bit more.
- Microwave-Safe Bowl: For melting chocolate. A small saucepan works too if you prefer the stovetop method.
Variations
- Nut-Free Version: Swap out the mixed nuts for seeds like sunflower or pumpkin seeds to create a nut-free treat that’s just as delicious!
- Protein Boost: Add a scoop of your favorite protein powder to the mixture for an extra nutritional punch. This is perfect for post-workout snacking!
- Flavor Infusions: Mix in a teaspoon of cinnamon or a dash of nutmeg for a warm, cozy flavor that’s perfect for fall.
- Fruit Additions: Toss in some dried cranberries or cherries for a fruity twist that adds a pop of color and flavor!
- Vegan Option: Use maple syrup instead of honey to keep these bars completely vegan while still being sweet and satisfying.
- Chocolate Lovers: For an extra chocolatey experience, fold in some mini chocolate chips into the nut mixture before baking!
Serving Suggestions
- Pair your Dark Chocolate Sea Salt Nut Bars with a cup of herbal tea for a cozy afternoon snack.
- Serve them alongside fresh fruit like apple slices or berries for a refreshing contrast.
- For a fun presentation, cut the bars into bite-sized pieces and arrange them on a colorful platter.
- Drizzle a little extra melted dark chocolate on top for a decadent touch!
FAQs about Dark Chocolate Sea Salt Nut Bars
Got questions about these delicious Dark Chocolate Sea Salt Nut Bars? You’re not alone! Here are some common queries I’ve encountered, along with my answers to help you whip up these tasty treats with confidence.
1. Can I make these bars ahead of time?
Absolutely! These Dark Chocolate Sea Salt Nut Bars store beautifully in the fridge for up to a week. Just make sure to keep them in an airtight container to maintain their freshness. You can also freeze them for up to three months—perfect for those busy days when you need a quick snack!
2. What can I substitute for pitted dates?
If you don’t have pitted dates on hand, you can use dried figs or prunes as a substitute. They’ll provide a similar sweetness and texture. Just chop them up and follow the recipe as usual. You might even discover a new favorite combination!
3. Are these bars suitable for kids?
Definitely! These Dark Chocolate Sea Salt Nut Bars are a great snack for kids. They’re packed with nutrients from the nuts and dates, making them a healthier alternative to store-bought snacks. Plus, the chocolate makes them irresistible!
4. Can I use different types of nuts?
Yes, feel free to mix and match your favorite nuts! Whether you prefer cashews, hazelnuts, or even macadamia nuts, they’ll all work wonderfully in this recipe. Just keep in mind that different nuts may slightly alter the flavor and texture.
5. How do I know when the bars are done baking?
Great question! You’ll know your Dark Chocolate Sea Salt Nut Bars are ready when they’re slightly firm to the touch and have a lovely aroma wafting through your kitchen. If they look a bit golden around the edges, that’s a good sign too! Just be careful not to overbake them, as they can become too dry.
Final Thoughts
Making Dark Chocolate Sea Salt Nut Bars is more than just a cooking project; it’s a delightful experience that brings joy to both the kitchen and your taste buds. These bars are a testament to how simple ingredients can create something truly special. Whether you’re enjoying them as a quick snack or sharing them with loved ones, each bite is a reminder that healthy treats can be delicious too. So, roll up your sleeves, get creative, and savor the satisfaction of making something wholesome and tasty. Trust me, your future self will thank you for it!
Print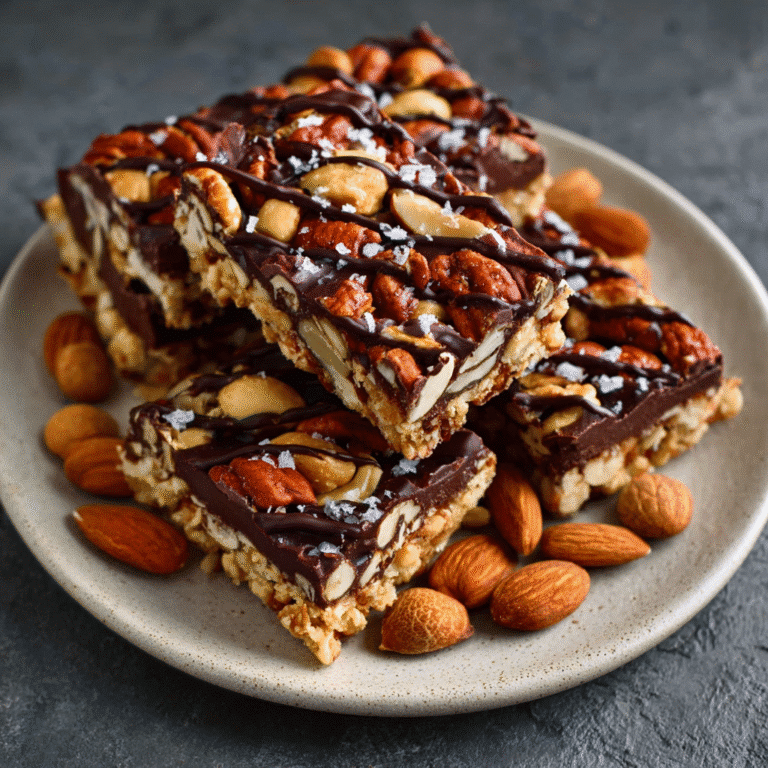
Dark Chocolate Sea Salt Nut Bars: A Healthy Treat!
A delicious and healthy treat made with mixed nuts, dates, and dark chocolate, perfect for snacking.
- Total Time: 1 hour 35 minutes
- Yield: 12 servings 1x
Ingredients
- 2 cups mixed nuts (almonds, walnuts, pecans, or your choice)
- 1 cup pitted dates, chopped
- 1/2 cup unsweetened cocoa powder
- 1/4 cup honey or maple syrup
- 1/4 teaspoon sea salt, plus extra for topping
- 1 teaspoon vanilla extract
- 1/2 cup dark chocolate chips (at least 70% cocoa)
Instructions
- Preheat your oven to 350°F (175°C) and line an 8×8-inch baking dish with parchment paper, leaving some overhang for easy removal.
- In a food processor, combine the mixed nuts and pulse until they are coarsely chopped. Be careful not to over-process; you want some texture.
- Add the chopped dates, cocoa powder, honey or maple syrup, sea salt, and vanilla extract to the food processor. Pulse until the mixture is well combined and sticky.
- Transfer the mixture to the prepared baking dish. Press it down firmly and evenly with your hands or a spatula to create a compact layer.
- Bake in the preheated oven for 15-20 minutes, until slightly firm and fragrant. Remove from the oven and let it cool completely in the pan.
- Once cooled, melt the dark chocolate chips in a microwave-safe bowl in 30-second intervals, stirring in between until smooth.
- Pour the melted chocolate over the cooled nut mixture, spreading it evenly. Sprinkle a pinch of sea salt on top.
- Refrigerate for at least 1 hour to set the chocolate. Once set, lift the bars out of the pan using the parchment overhang and cut into squares or rectangles.
Notes
- For added flavor, consider mixing in a teaspoon of cinnamon or a tablespoon of nut butter into the nut mixture.
- Substitute the mixed nuts with your favorite nuts or seeds, such as sunflower seeds or pumpkin seeds, for a different taste and texture.
- Prep Time: 15 minutes
- Cook Time: 20 minutes
- Category: Snack
- Method: Baking
- Cuisine: American
- Diet: Vegan
Nutrition
- Serving Size: 1 bar
- Calories: 180
- Sugar: 10g
- Sodium: 50mg
- Fat: 12g
- Saturated Fat: 3g
- Unsaturated Fat: 9g
- Trans Fat: 0g
- Carbohydrates: 15g
- Fiber: 5g
- Protein: 4g
- Cholesterol: 0mg